My 2nd Attempt at a DIY Face Mask to my 25th face mask made – I share the video I went by and also I share the steps I took to do mine with photos. #DIYFaceMask #FaceMask
My 2nd Attempt at a DIY Face Mask to my 25th
Below is the video I based my face mask on, but I used a sewing machine.
2nd Face Mask Attempt
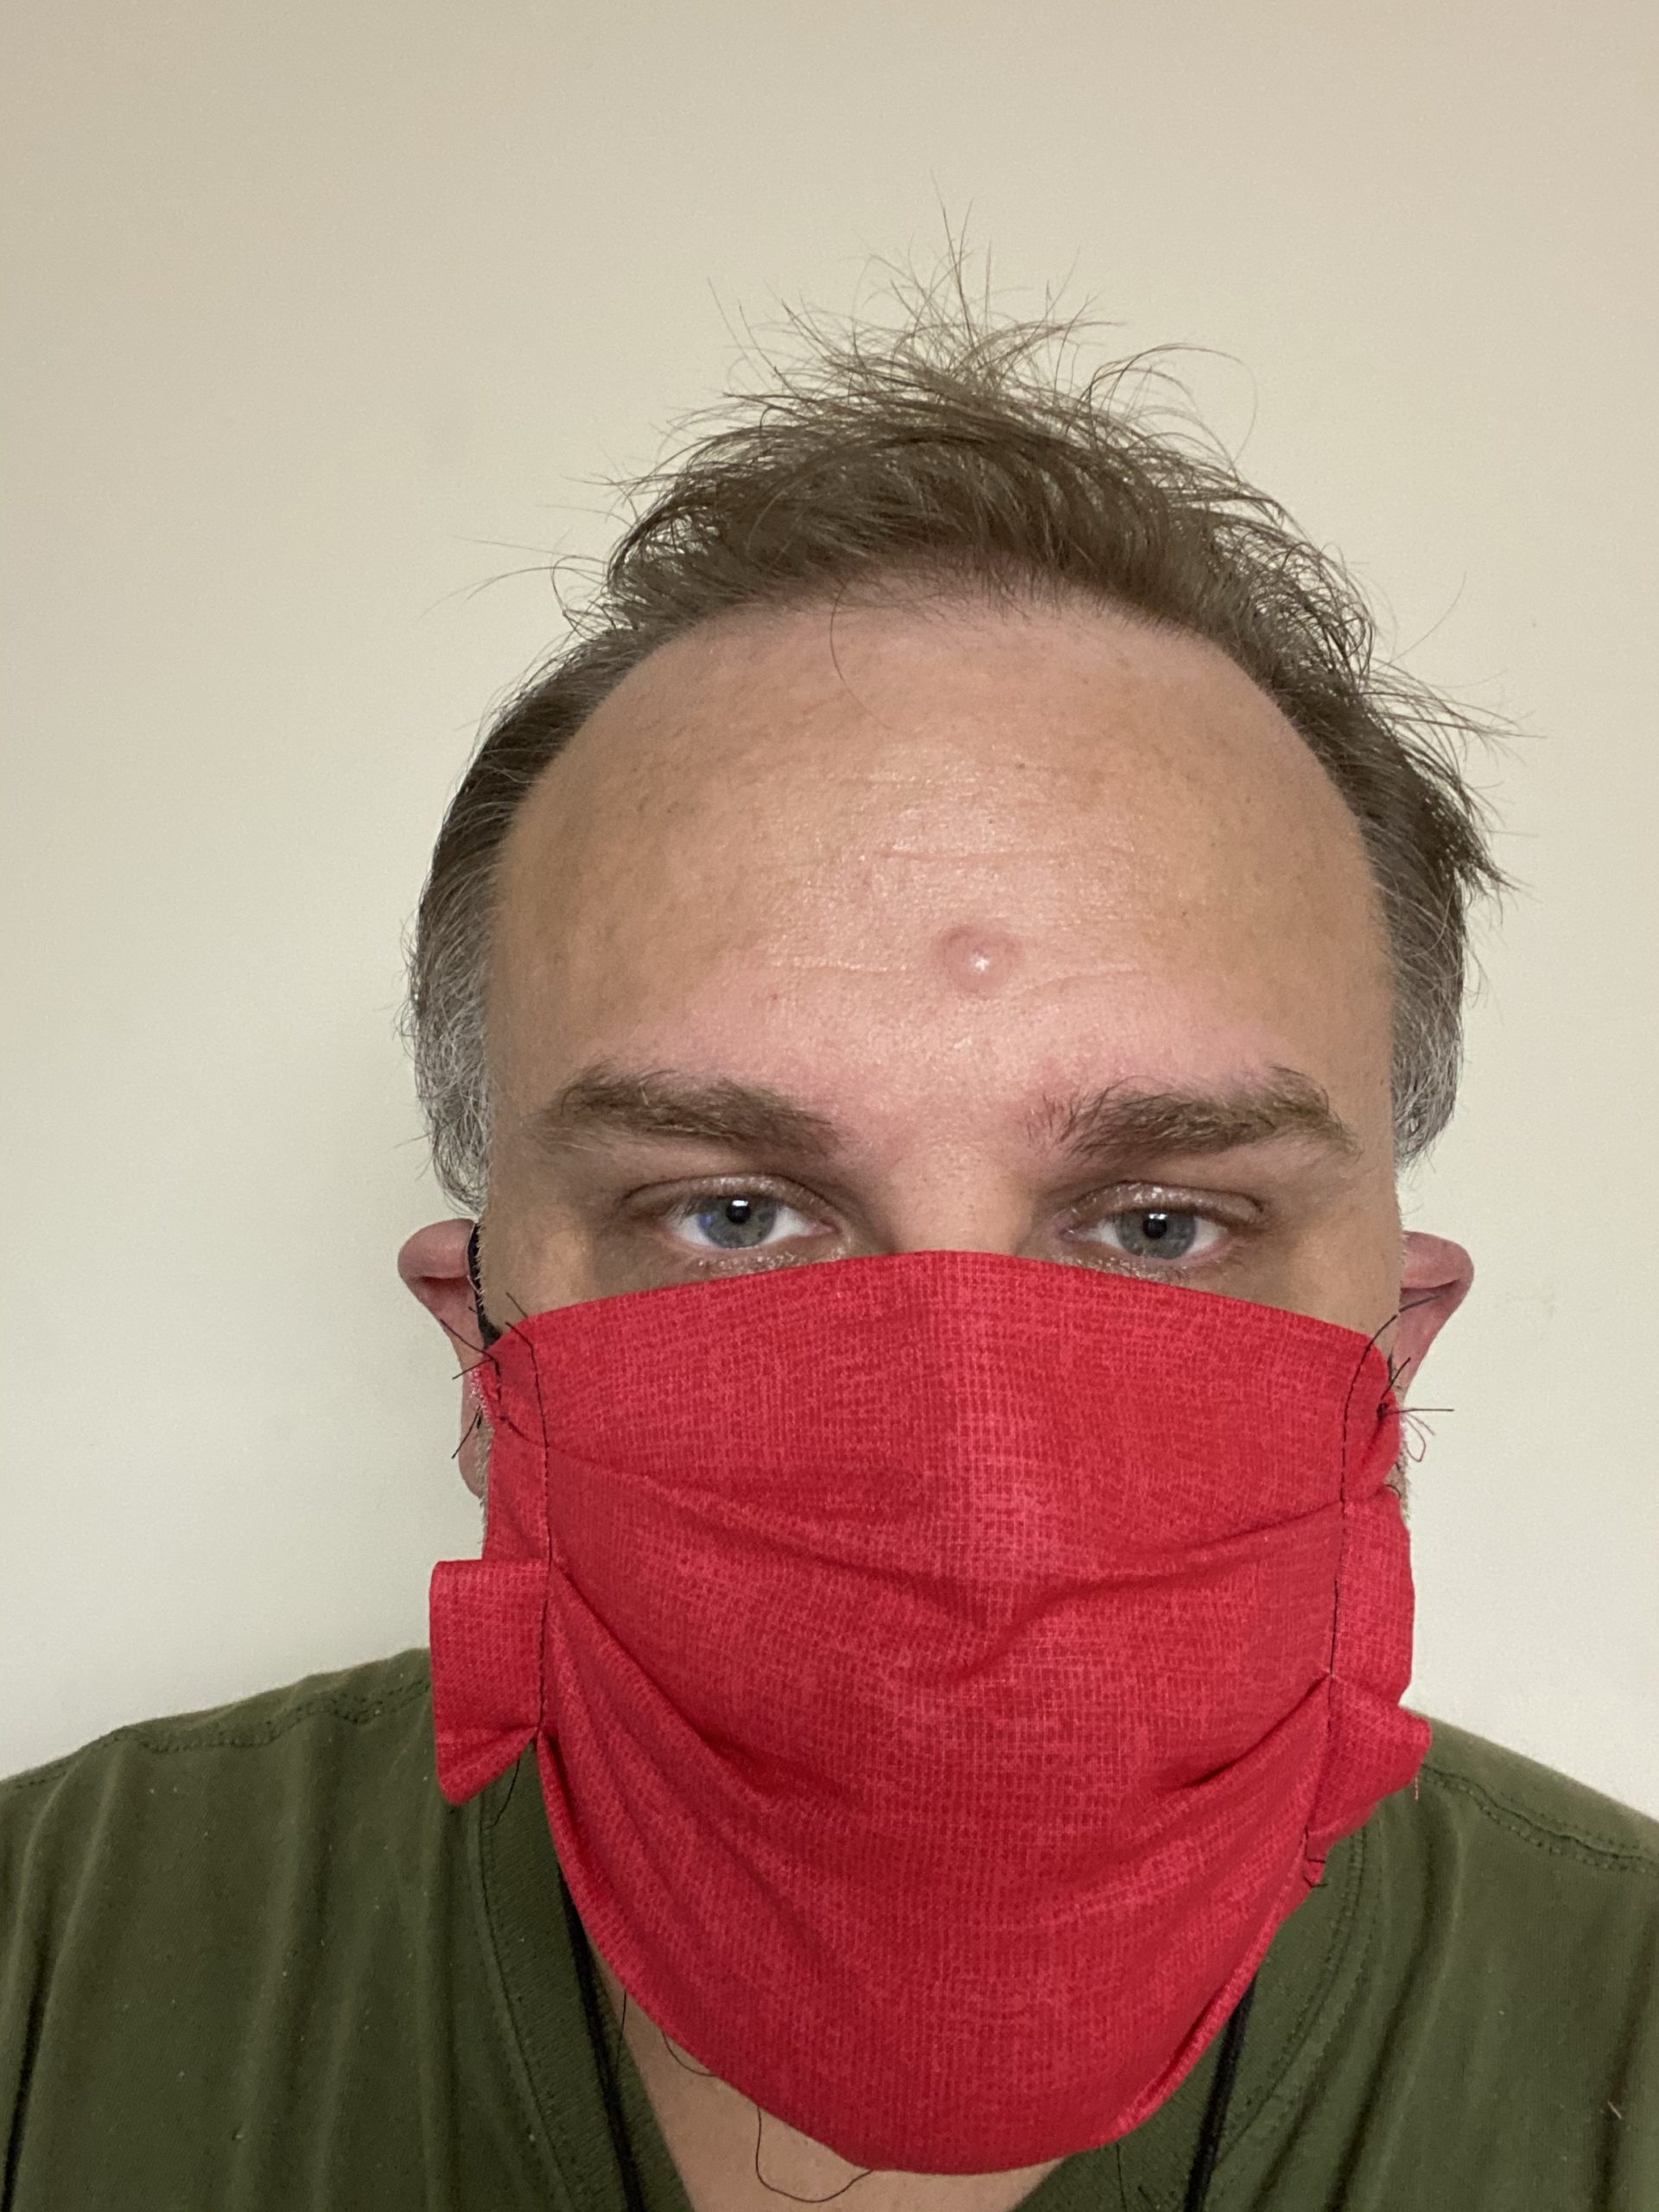
My second attempt went better. I went off the video. It works much better. On one fir me a guy, size in the video seemed small on the width, to me on the first try. (Show my steps below)


So we increased the size of the material some and it worked better. so my third one, green mask worked great for the width to me.
Instead of 8×15 inches, the 10×15 inches worked.
Learn how to wear a cloth face mask.
Also note, cotton is the best material used for face mask. Plus you can wash it these face mask to keep them clean! I recommend you wash them often. That is why you should have yourself several face mask.
But with mask some modifications are gonna need to be done. It fit me good, my wife needed less elastic, had to tack it in some and it fit.
Pleats I do covered are for forming around the face. Plus it still leaves a slit in the back if you need to place a filter in there.
They get better as I made more! So practice makes better! I wouldn’t say practice makes perfect, but no one is perfect but Jesus Christ.
4th to 6th Face Mask Made
This is the 4th mask I made, cow print for my daughter. I made 3 of these for her. So my 4th, 5th, and 6th. Co Mask

7th and 8th Face Mask
Below my 7th and 8th mask. Snoopy face mask for my wife. As I made 2 of them.

I can almost get two of these done in an hour. My wife also helped me. Teamwork makes them go faster! Just saying! Thank you for your help!
Below my 9th and 10th

Below I show the steps I took to make these face mask. Plus, I share more of the ones I made.
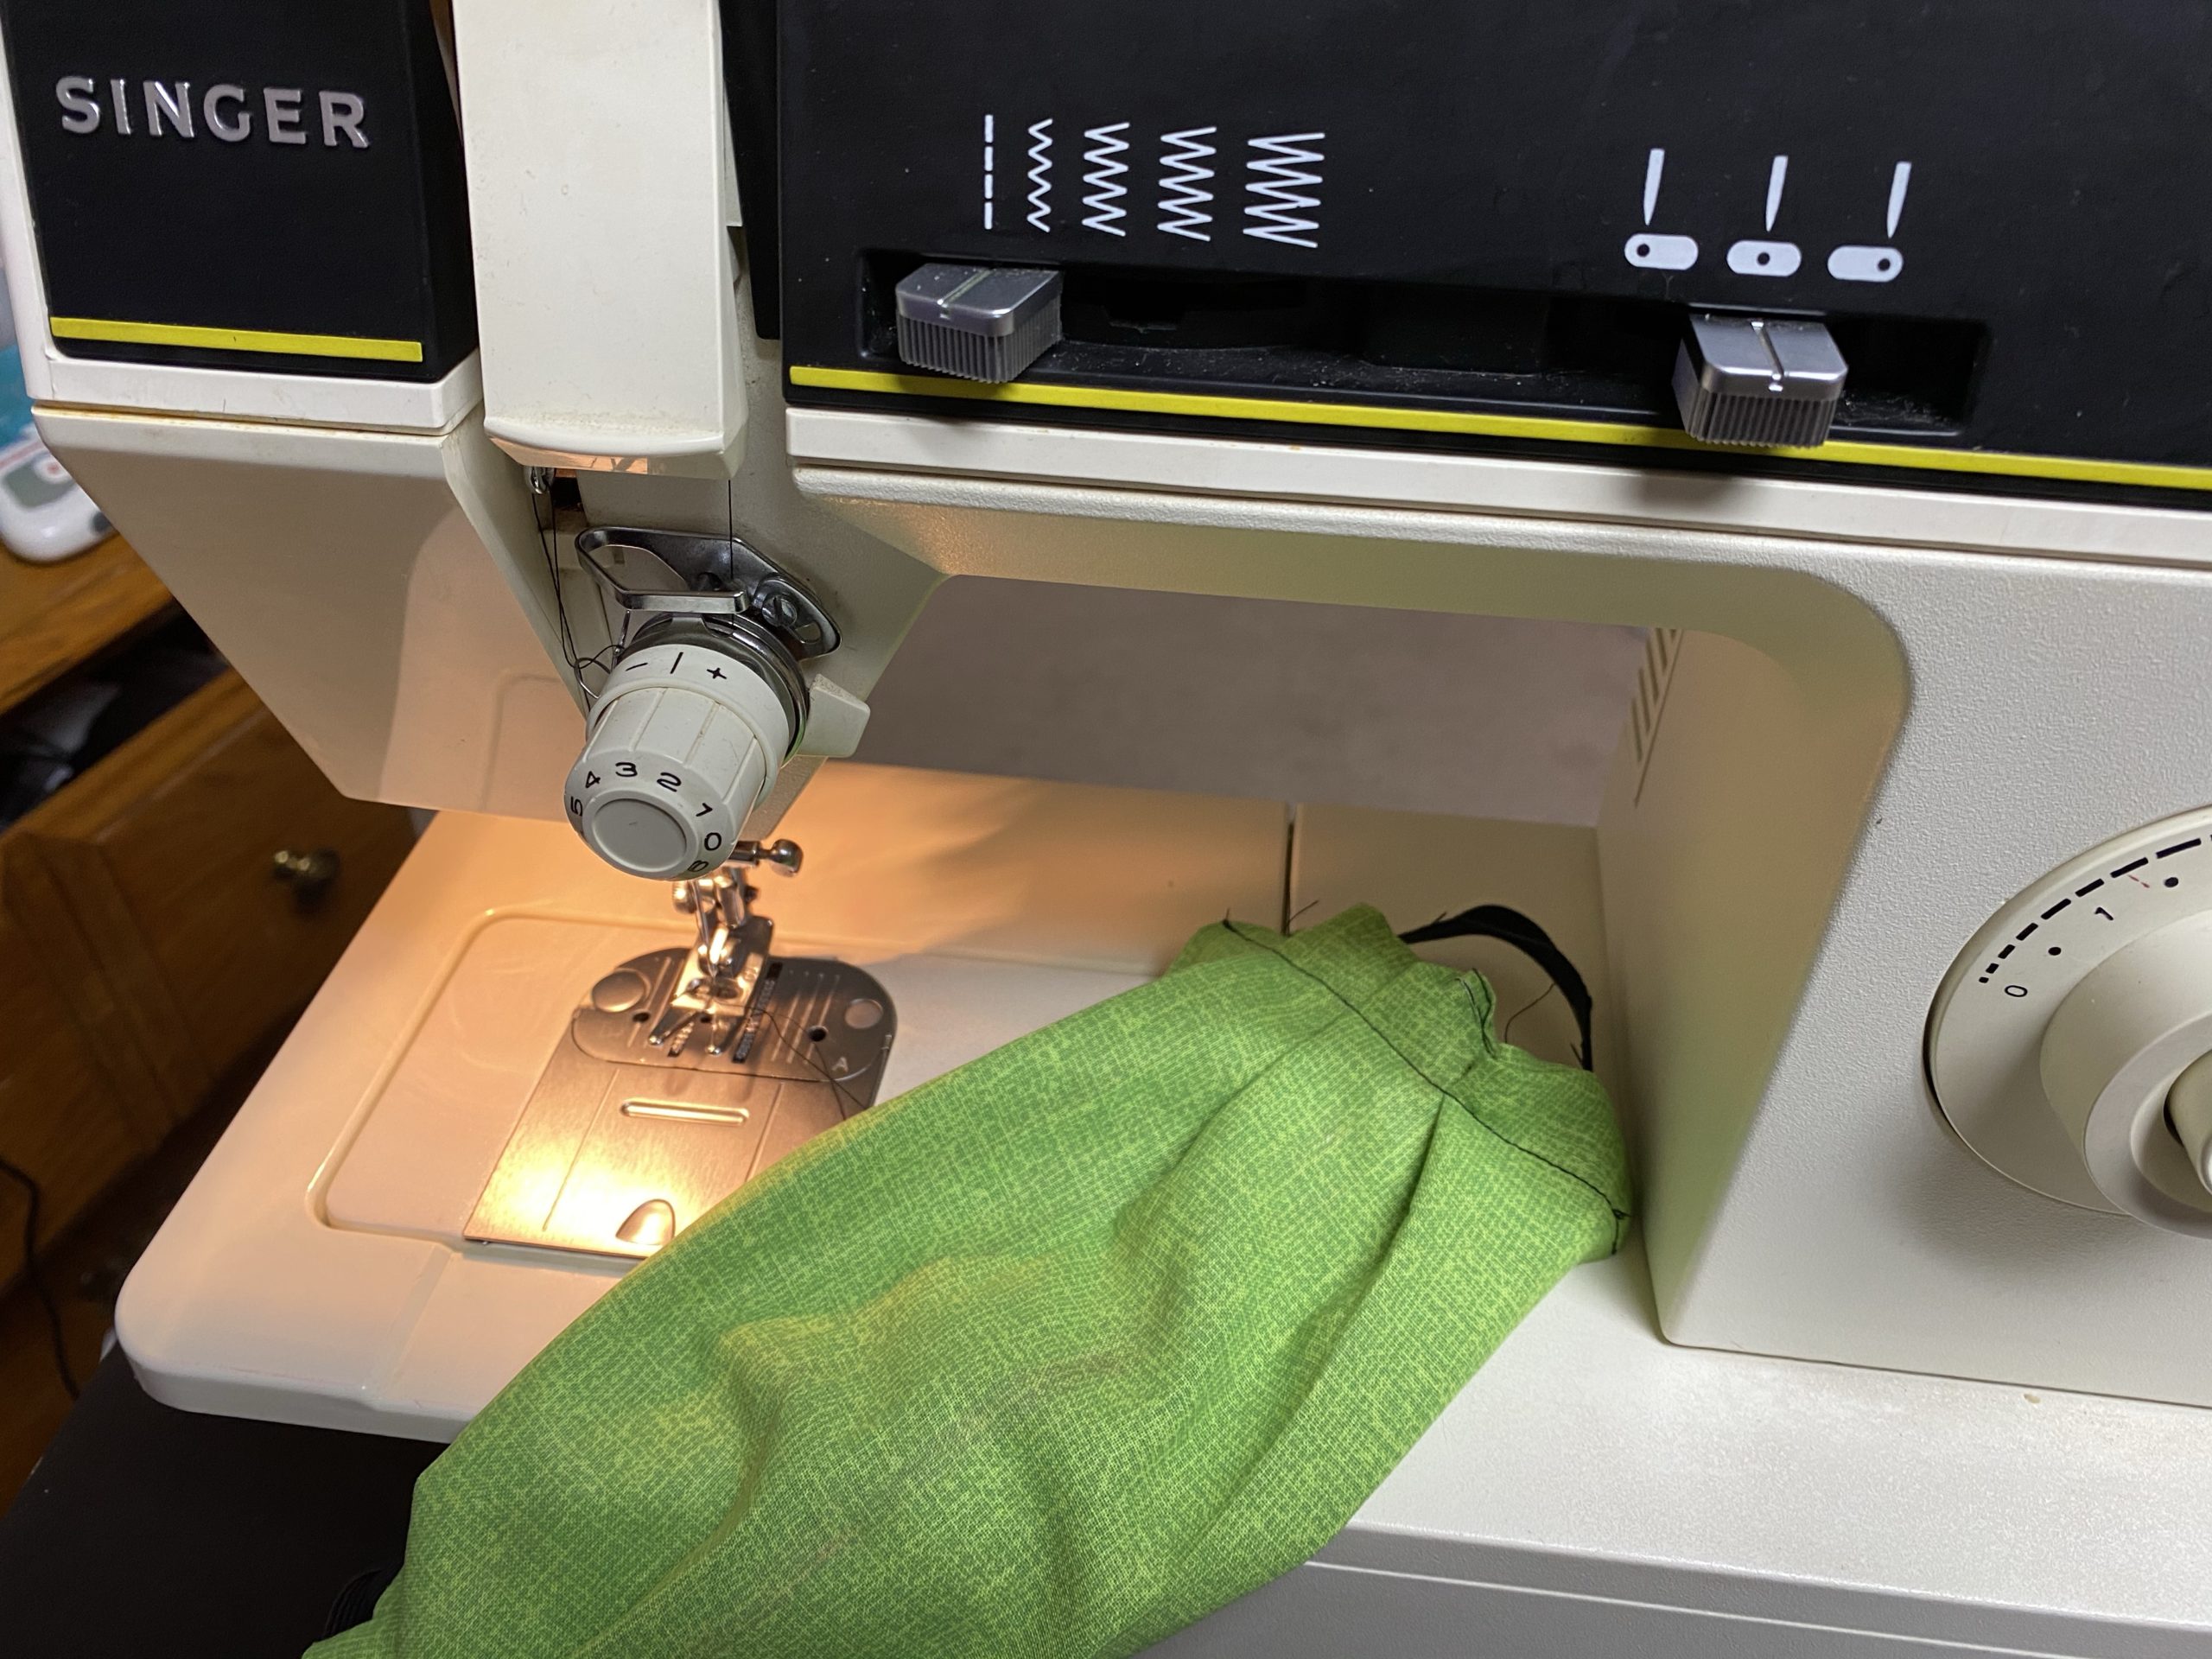
Step 1
Team work helps. One person do sewing part. Other do folding and ironing. I did sewing part. My wife did the cutting, folding and ironing.
Fold in half. Since we did 10” we sewed in 4 inches in. Leave the middle section. (You use this to turn right side out).

Step 2
Iron flat flaps of the center and lay fabric like below.

Step 3
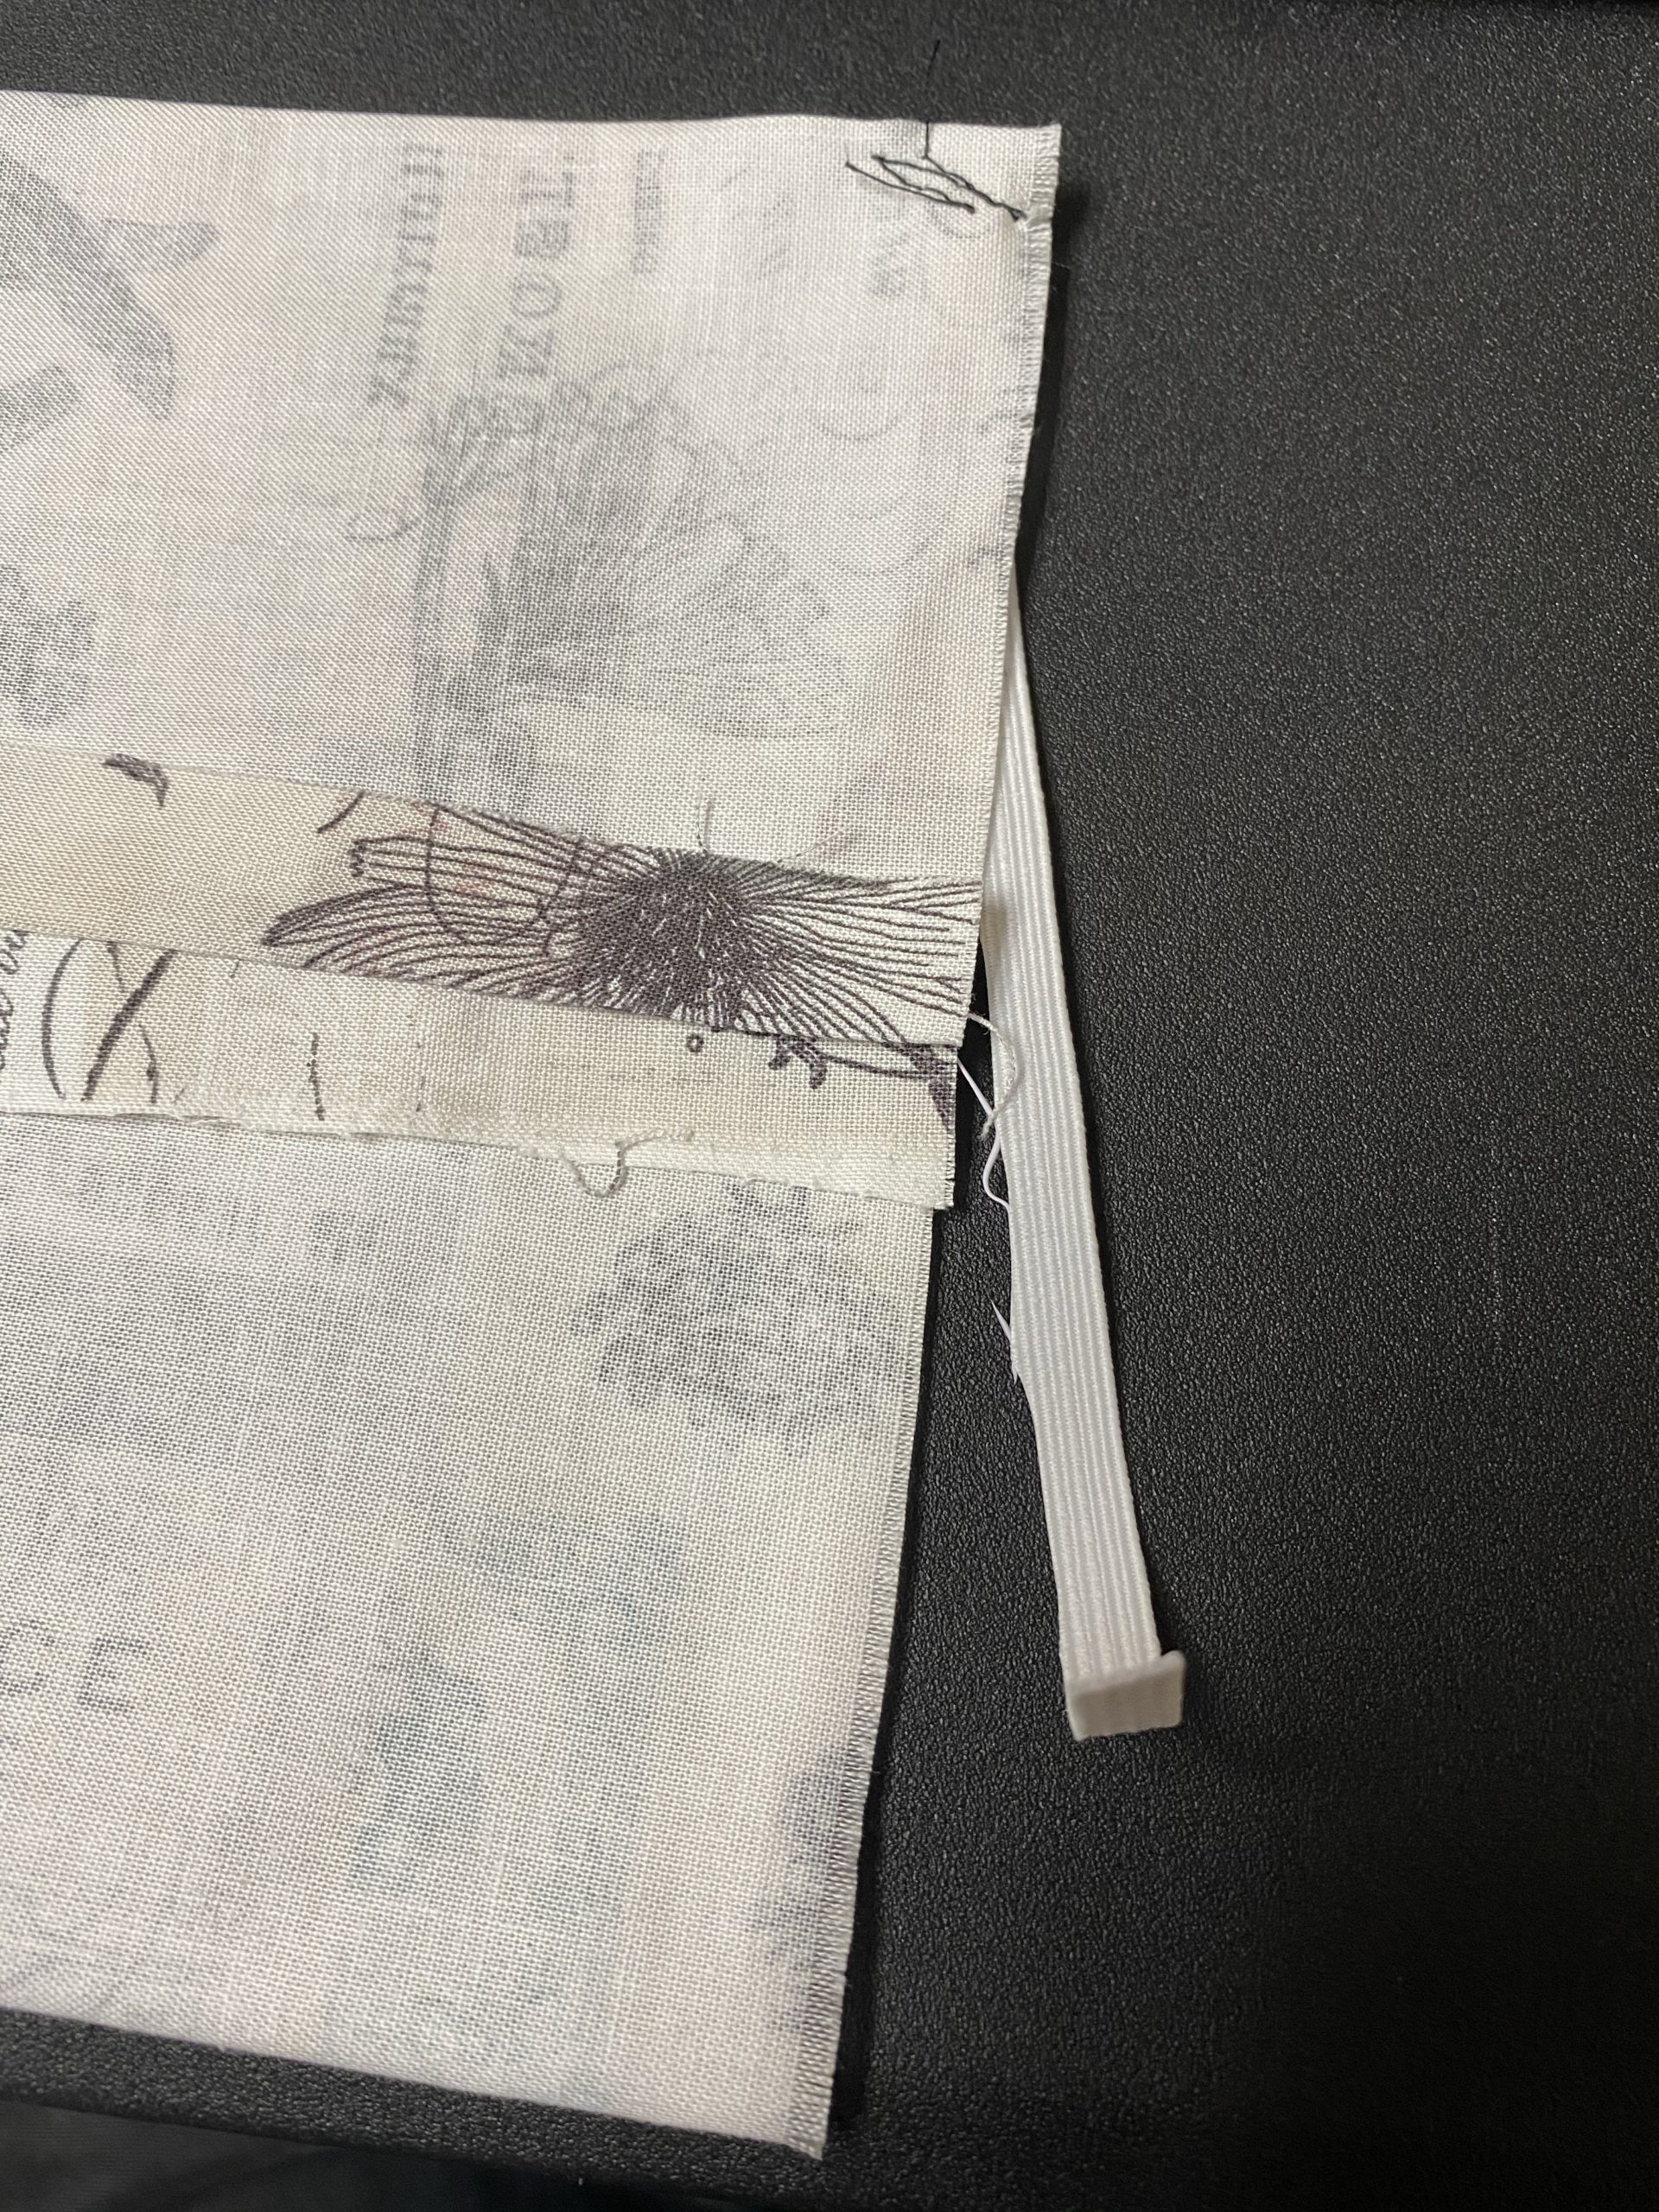
Tack elastic in the corners. I did a diagonal sew. Do this for all 4 corners. Note only do the Corners! I found 7″ elastic works the best for me a guy.
(If you don’t have elastic, you can use ribbon or strings. 16″ long). Just tack the corners, Make sure the ribbon or string is inside the center and not sewed down the side) This way you can tie it in the back. This could also save you from tug on ears. (I also tied a knot at the end where I sewed it.)
I have updated this step, using special fabric on the front and solid color in the back (see bottom of post).
Step 4
Then sew both sides. Do not sew the elastic on the sides tuck it inside so it won’t get sewed in the middle area. Do it on both sides.

Step 5
Use that slit and turn the fabric right side out. (where you can see the actual print of the material.


Step 6
Fold in half and iron and then unfold . These folds help to make your pleats.

Step 7
Then fold ¼ both sides. Like below.
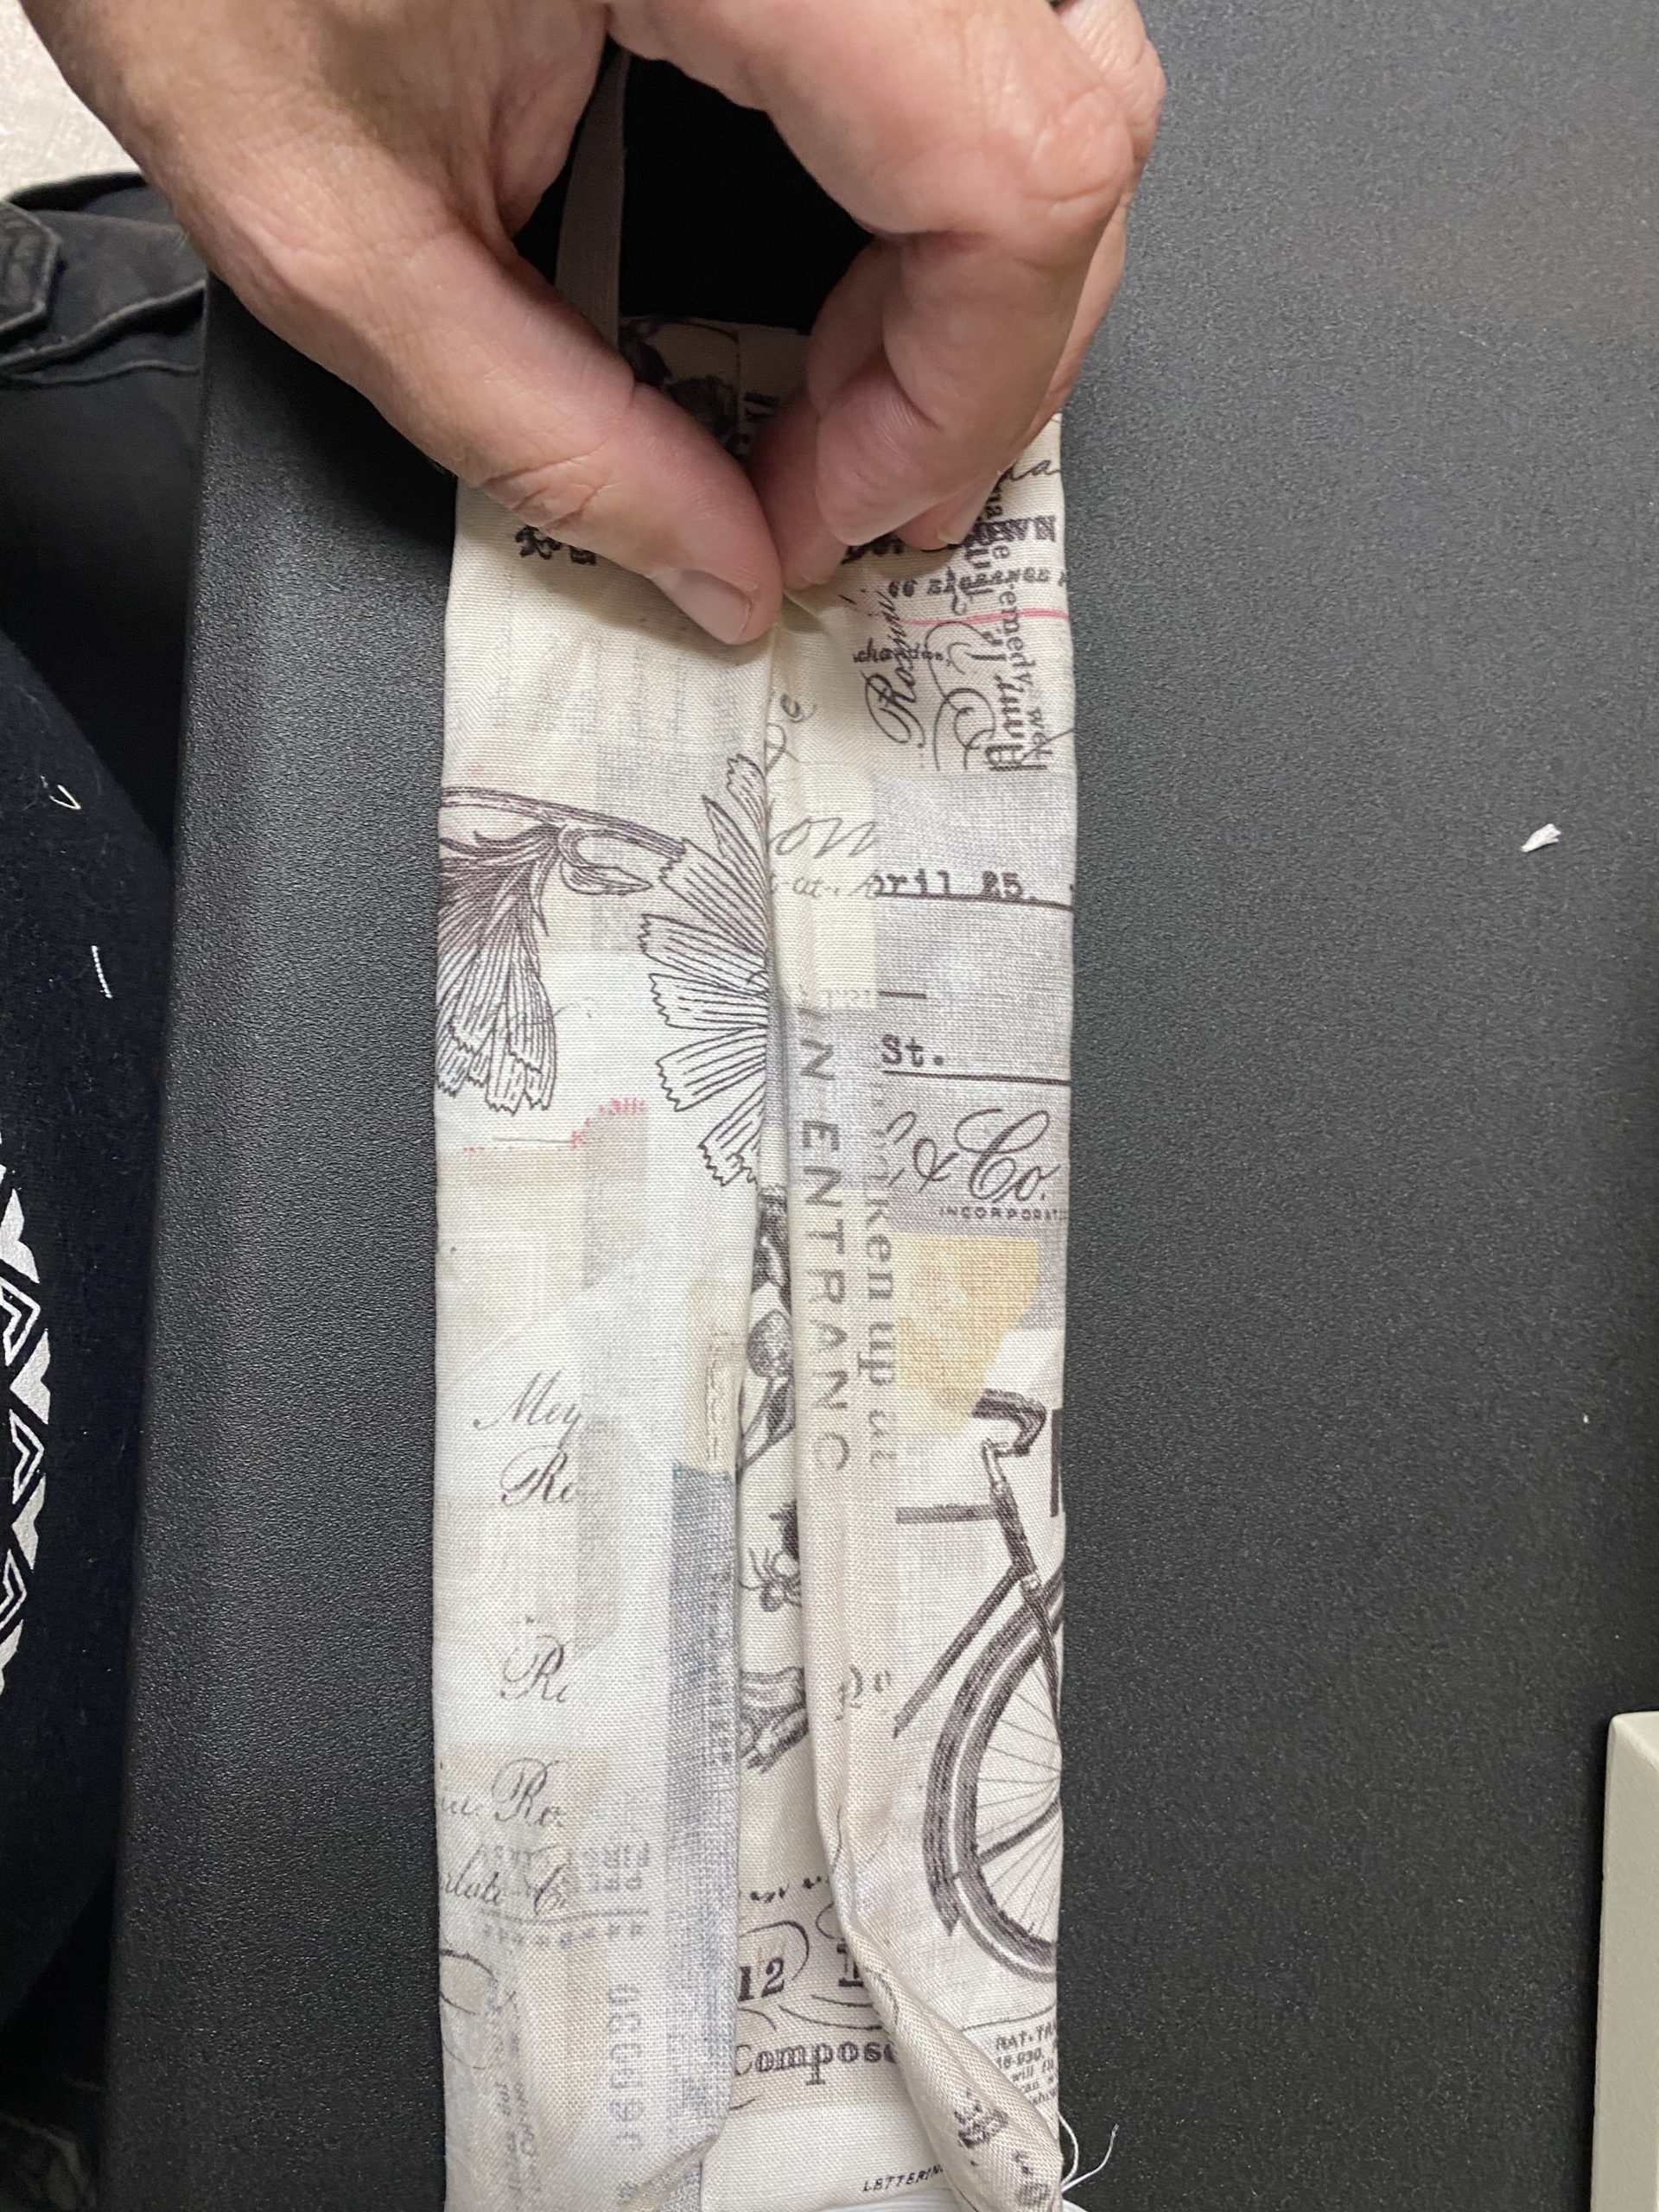
Step 8
Now fold that In half. now iron again.

Step 9
Unfold and pleat folded areas. And iron the front of the mask with the new pleats.

Step 10
Sew both sides of the mask with pleats. The pleats allow for it to form on the face.

You are done!
11th to 23rd Face Mask!
I made 12 of these masks below. So these are Masks 11 to 23! Btw a yard and half of that fabric, I was able to yield 13 masks with scrap material left. One the 13th I used two scraps and sewed them together. Don’t forget to allow a split to turn right side out. So that’s 8 to 9 mask in a yard and 4 to 5 mask in half a yard.
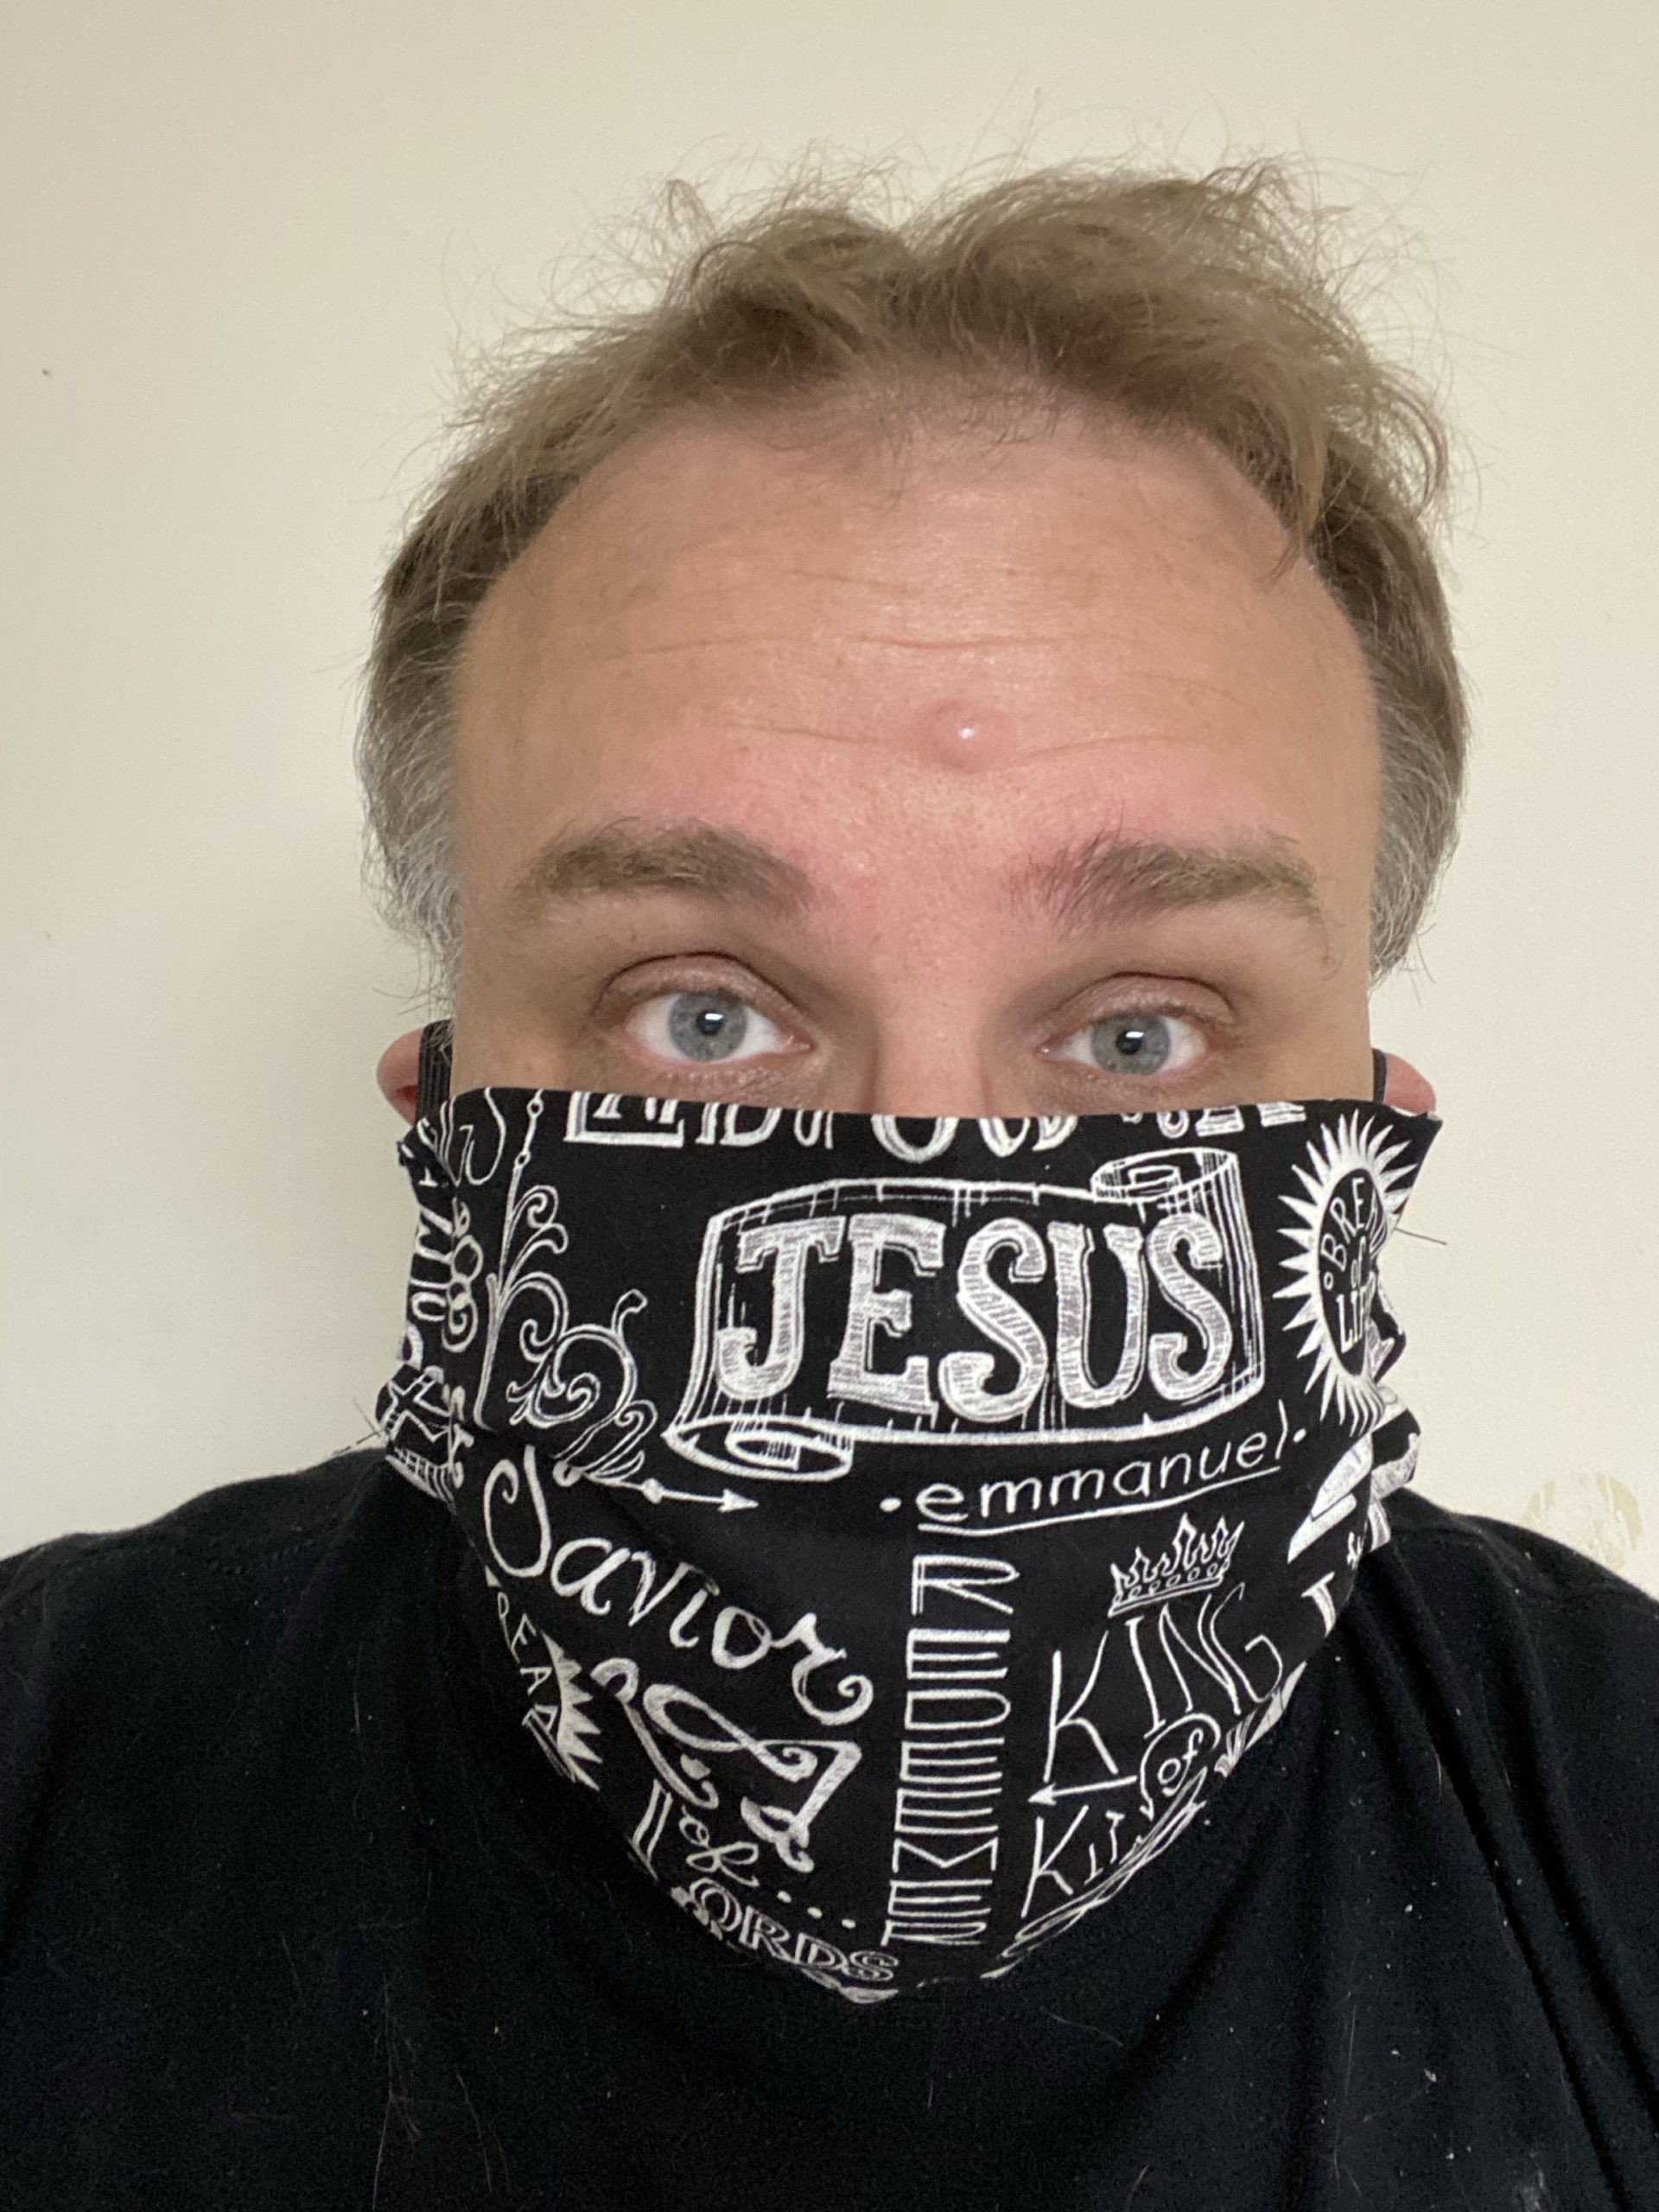
Btw, I think this Jesus Face Mask is my favorite!

My 25th Face Mask Made
My 25th mask is below. I can do a total of 9. I got one yard. As you can see the more I do, better they get. Learning as you go.

Fabric to make Mask
If I try others or make more masks. I will share the ones I make. Here is the Fabric I have left, some of which I already used. I will make another post with the masks I make.
I’d say each mask so far seemed to cost just under $2-3 to make. (Fabric, Thread and Elastic). People are selling these for $10 or more. I think more than $10 is too much, in my opinion. They don’t seem to take too long to make either.

Mine may not be perfect, but they work!
See my first attempt, that didn’t go so well, like these ones.
Do you make face mask?
If so, feel free to share about your experience in making them.
Your comments are welcome.
Update: I now do them a little different, since special pattern fabric cost more than solid color fabric.
I take 10″ x 7.5″ special fabric, this it the front. Then I have two 10″ x 4″ of solid color, color to match the front. I then sew those two back solid colors together, leaving the slit there, about 2″ in the middle.
Once those are done, I then Put the front fabric and the the back together, make sure the good sides are inside touching. Then I sew the top, putting the elastic there, then do the same with the bottom. I do sew back and forth over the elastic, to make sure it stays good. Then I sew the sides with the elastic inside, do not sew the elastic on the sides!
Then I turn it right side out and do the pleating like above.
About the Author
Sharing is Caring! Please Share!

Discover more from Courageous Christian Father
Subscribe to get the latest posts sent to your email.